Each Summer I run an eight week design and prototyping fellowship. The idea is that I teach students how to be designers and at the same time teach them how to prototype. We prototype simply and also in an advanced ways.
I wanted to write a short post about the iterative design loop because I make it a big part of how we approach projects. Much of what I mean by ‘iterative design loop’ is riffing off of Don Norman here. Don Norman is an industrial designer and the author of The Design Of Everyday Things. He suggests that we Observe, Test, Iterate and Learn when designing. There’s a Succinct explanation of that in a bit more detail here.
Last year in 2021 I worked with Playful Learning Landscapes, an organization that designs and builds educational play structures in cities. They taught us playful design techniques and then challenged my students to create educational play structures. My students did a great deal of work in eight weeks and I wanted to highlight some of that work here while also showing how I implemented these iterative design concepts.
The students first observed and did research. They spent time in playgrounds and interacted with play structures. They observed how kids played. They spoke with toy designers and people who designed exhibits at children’s museums. And they generated A LOT of ideas. We actually do a fun workshop with a designer on brainstorming which is its own blog post. Idea generation can take a lot of forms but I like to see lists and some sketches from students at this point.
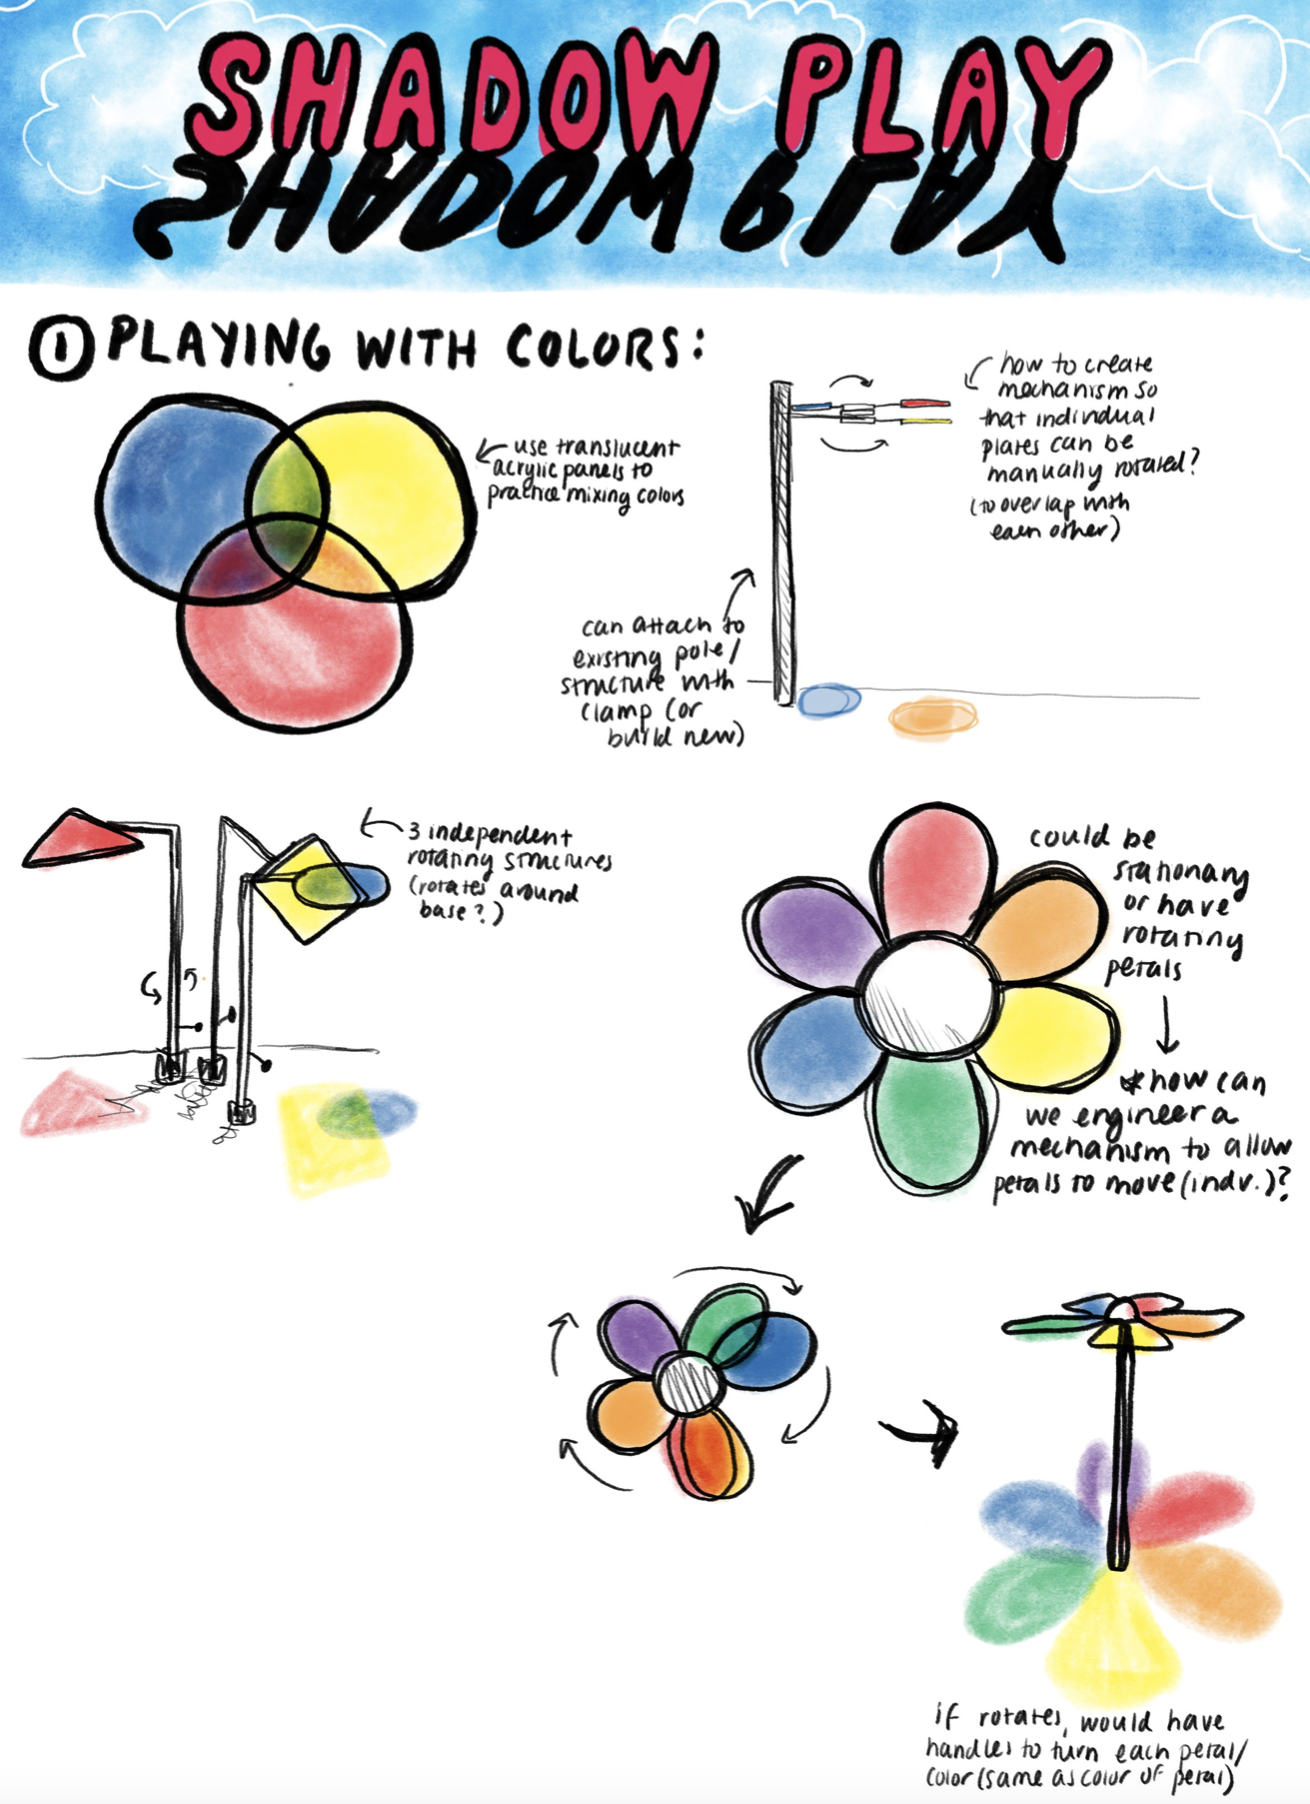
When a group chooses an idea from their list I ask that they then do some sketching. They can be very simple sketches. I just want it to help give a sense of what they are hoping to do and at the same time I believe it helps them begin to see how it might actually exist and function. Here is a very polished series of sketches. This group submitted some very good initial drawings of their ideas. It doesn’t have to be this good! You can see that their idea was to work with shadows and make an interactive shadow casting structure.
From there we test, which means we make prototypes. These prototypes don’t have to be sophisticated and really I don’t want them to be. Not yet. I want students to work with their hands. Here (below) is that same group’s first paper prototype.
I find that students are eager and excited to complete their project but they often don’t have the experience to inform how feasible their project is. So part of what I ask them to do is simply create their design over and over using different tools. I reinforce the idea of iterating but I also think it just naturally happens when we have to tackle a similar problem more than once.
It’s sloppy, it’s hacked together, it leans to one side, it’s cardboard and plastic wrap, and it’s pretty brilliant! They learned a lot and I learned just how ambitious they were. As they begin to make their first prototype they also got a sense for how it could work. They had more ideas and they started to see how others might interact with their design. They made changes and redesigned. They observed and learned from their test then iterated.
After that first prototypes in paper students eventually move to a 3D model. This doesn’t have to be the case but in my lab we have certain tools and I like to make sure students get to use them so I build a curriculum around the tools we have. For us, this means, that relatively early on students spend time drafting on the computer.
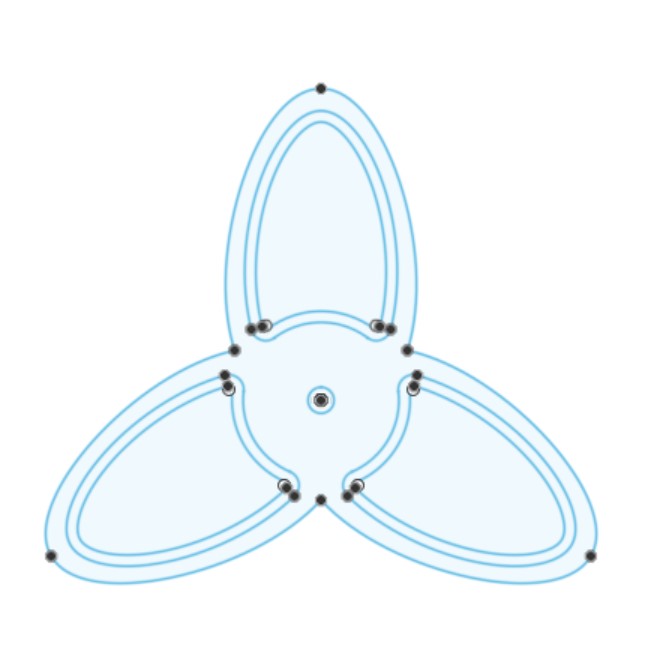

And as we go from paper prototype to precision designing I often see that students want to immediately go to the finished object. They are ready and confident that it’s all going to work perfectly. And though it might, it often doesn’t. So I am insistent here that they do another step. At least one more… I ask that students make a model to scale. And I ask questions like what fits? What doesn’t work? What kind of changes will you make before going full size? If this is scaled up, what changes? What do you need to do again? What did you learn? I ask a lot of questions!
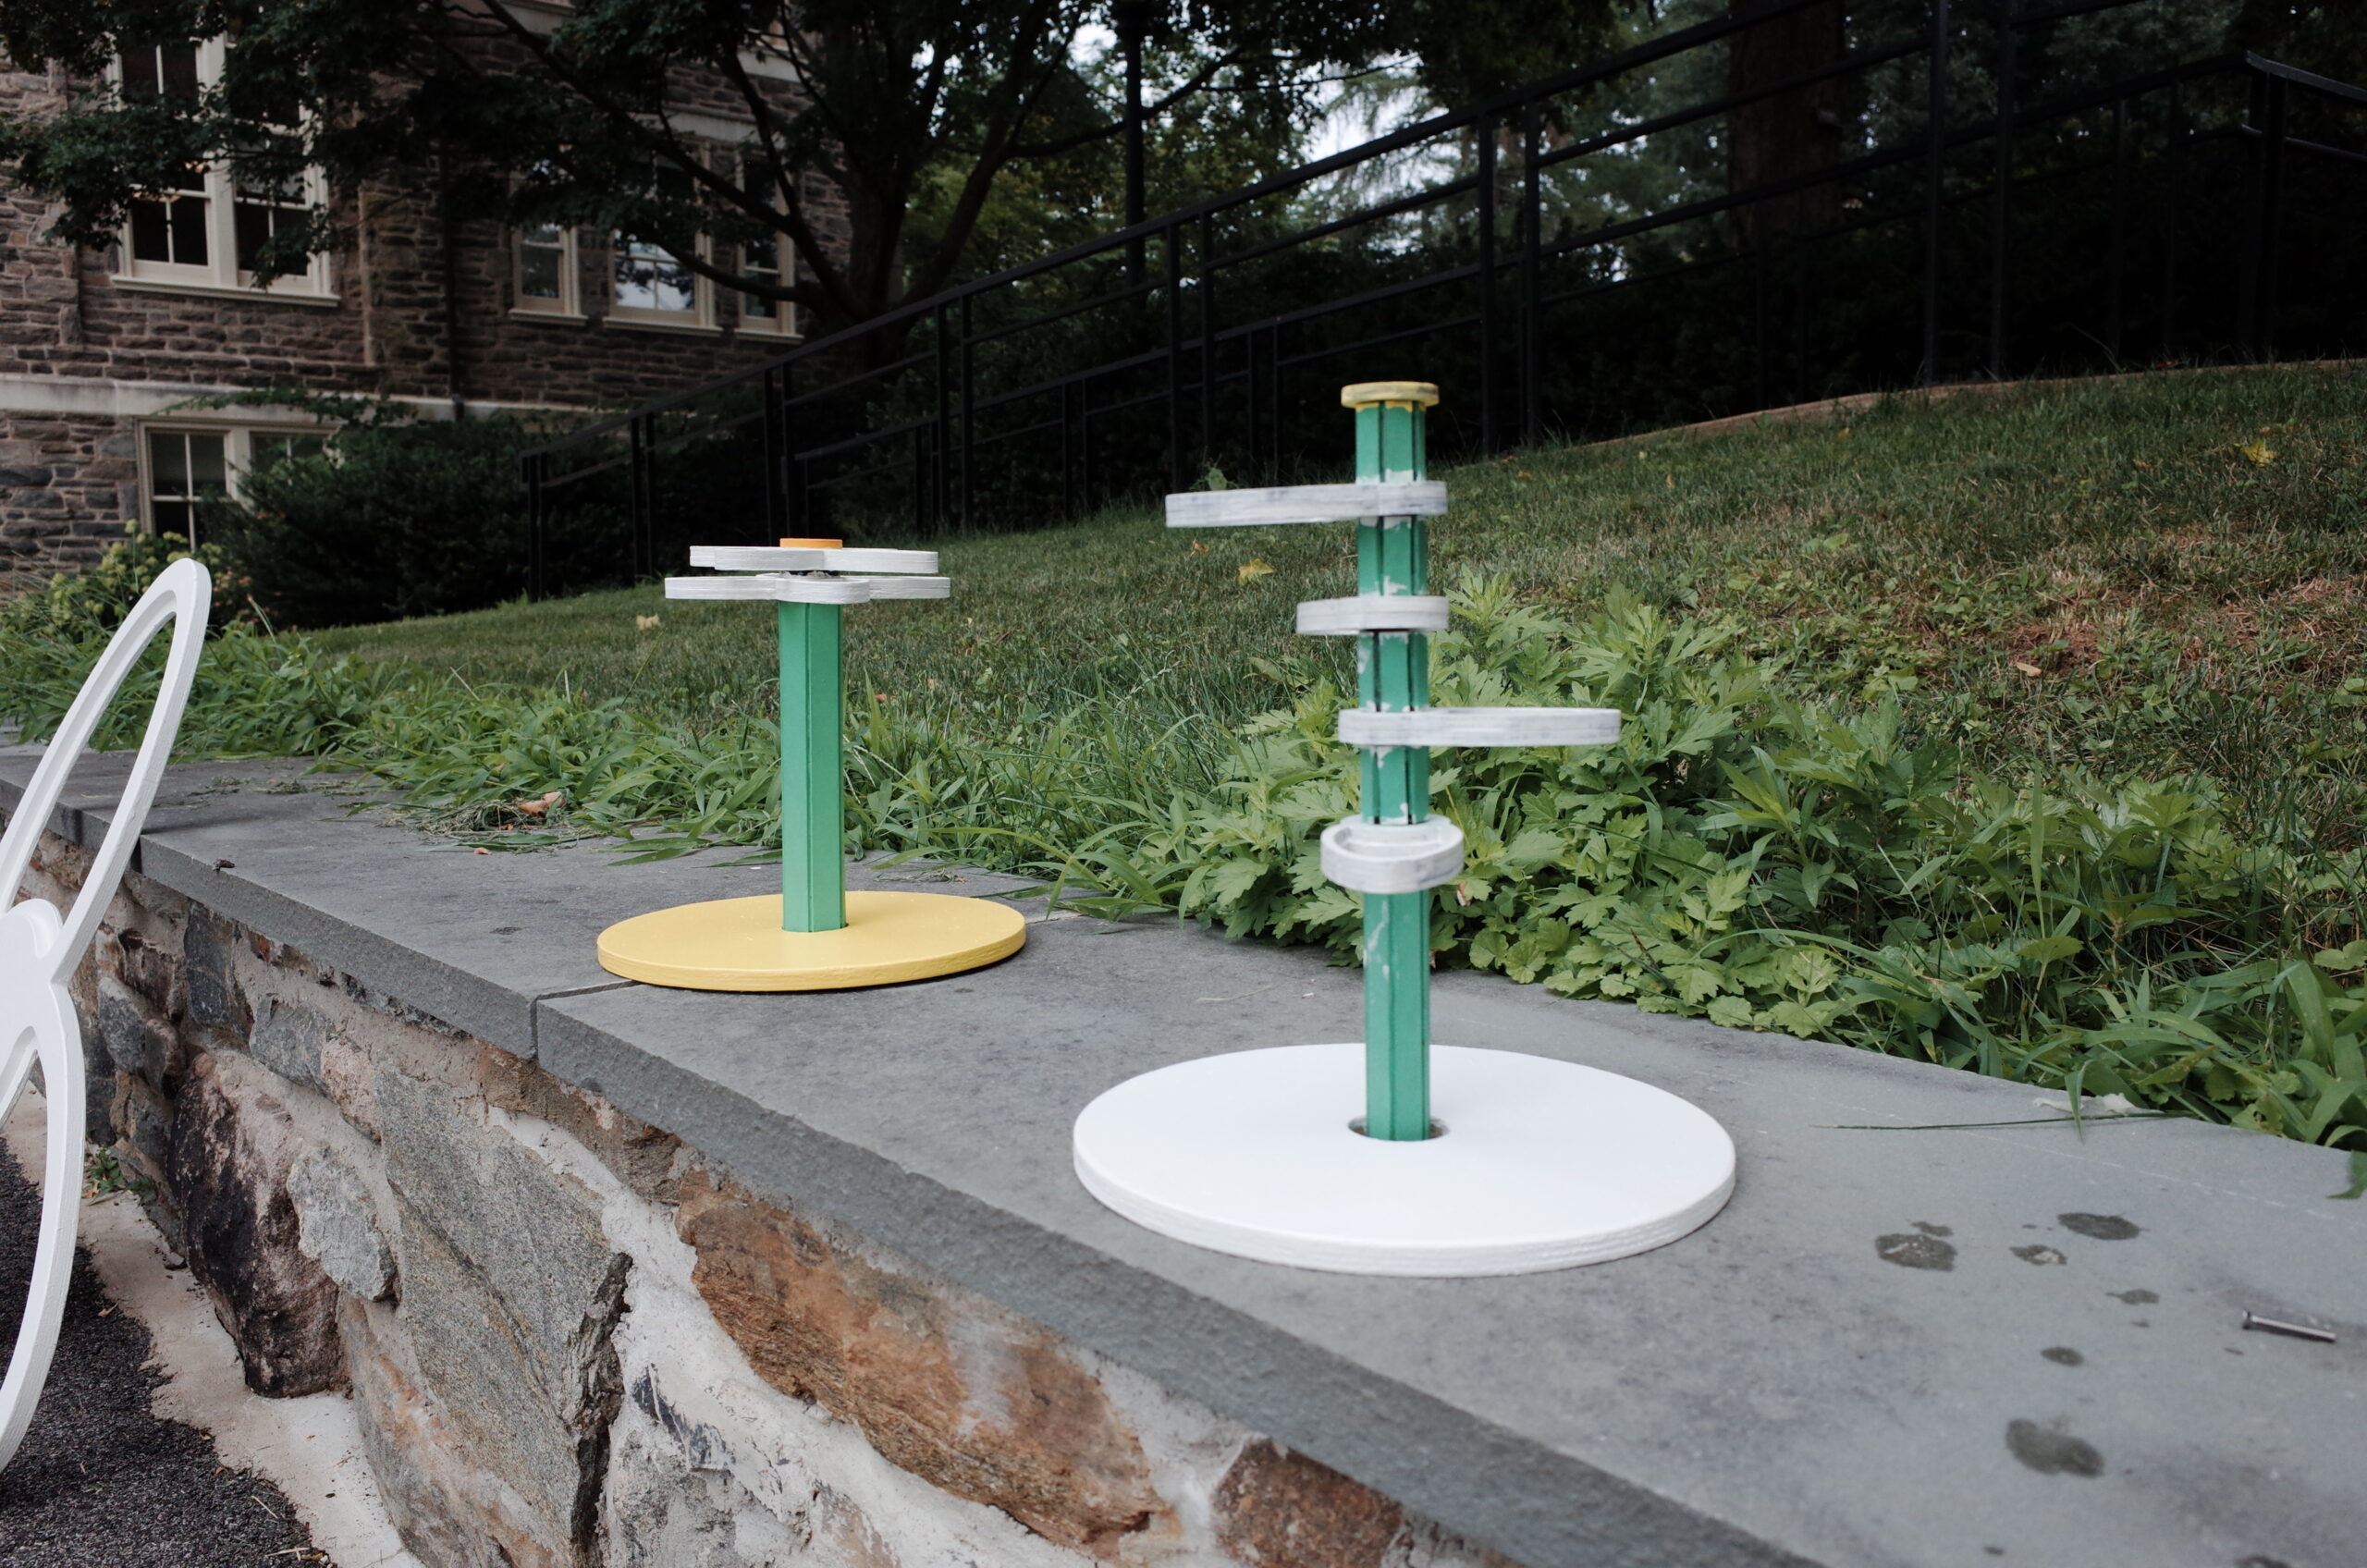
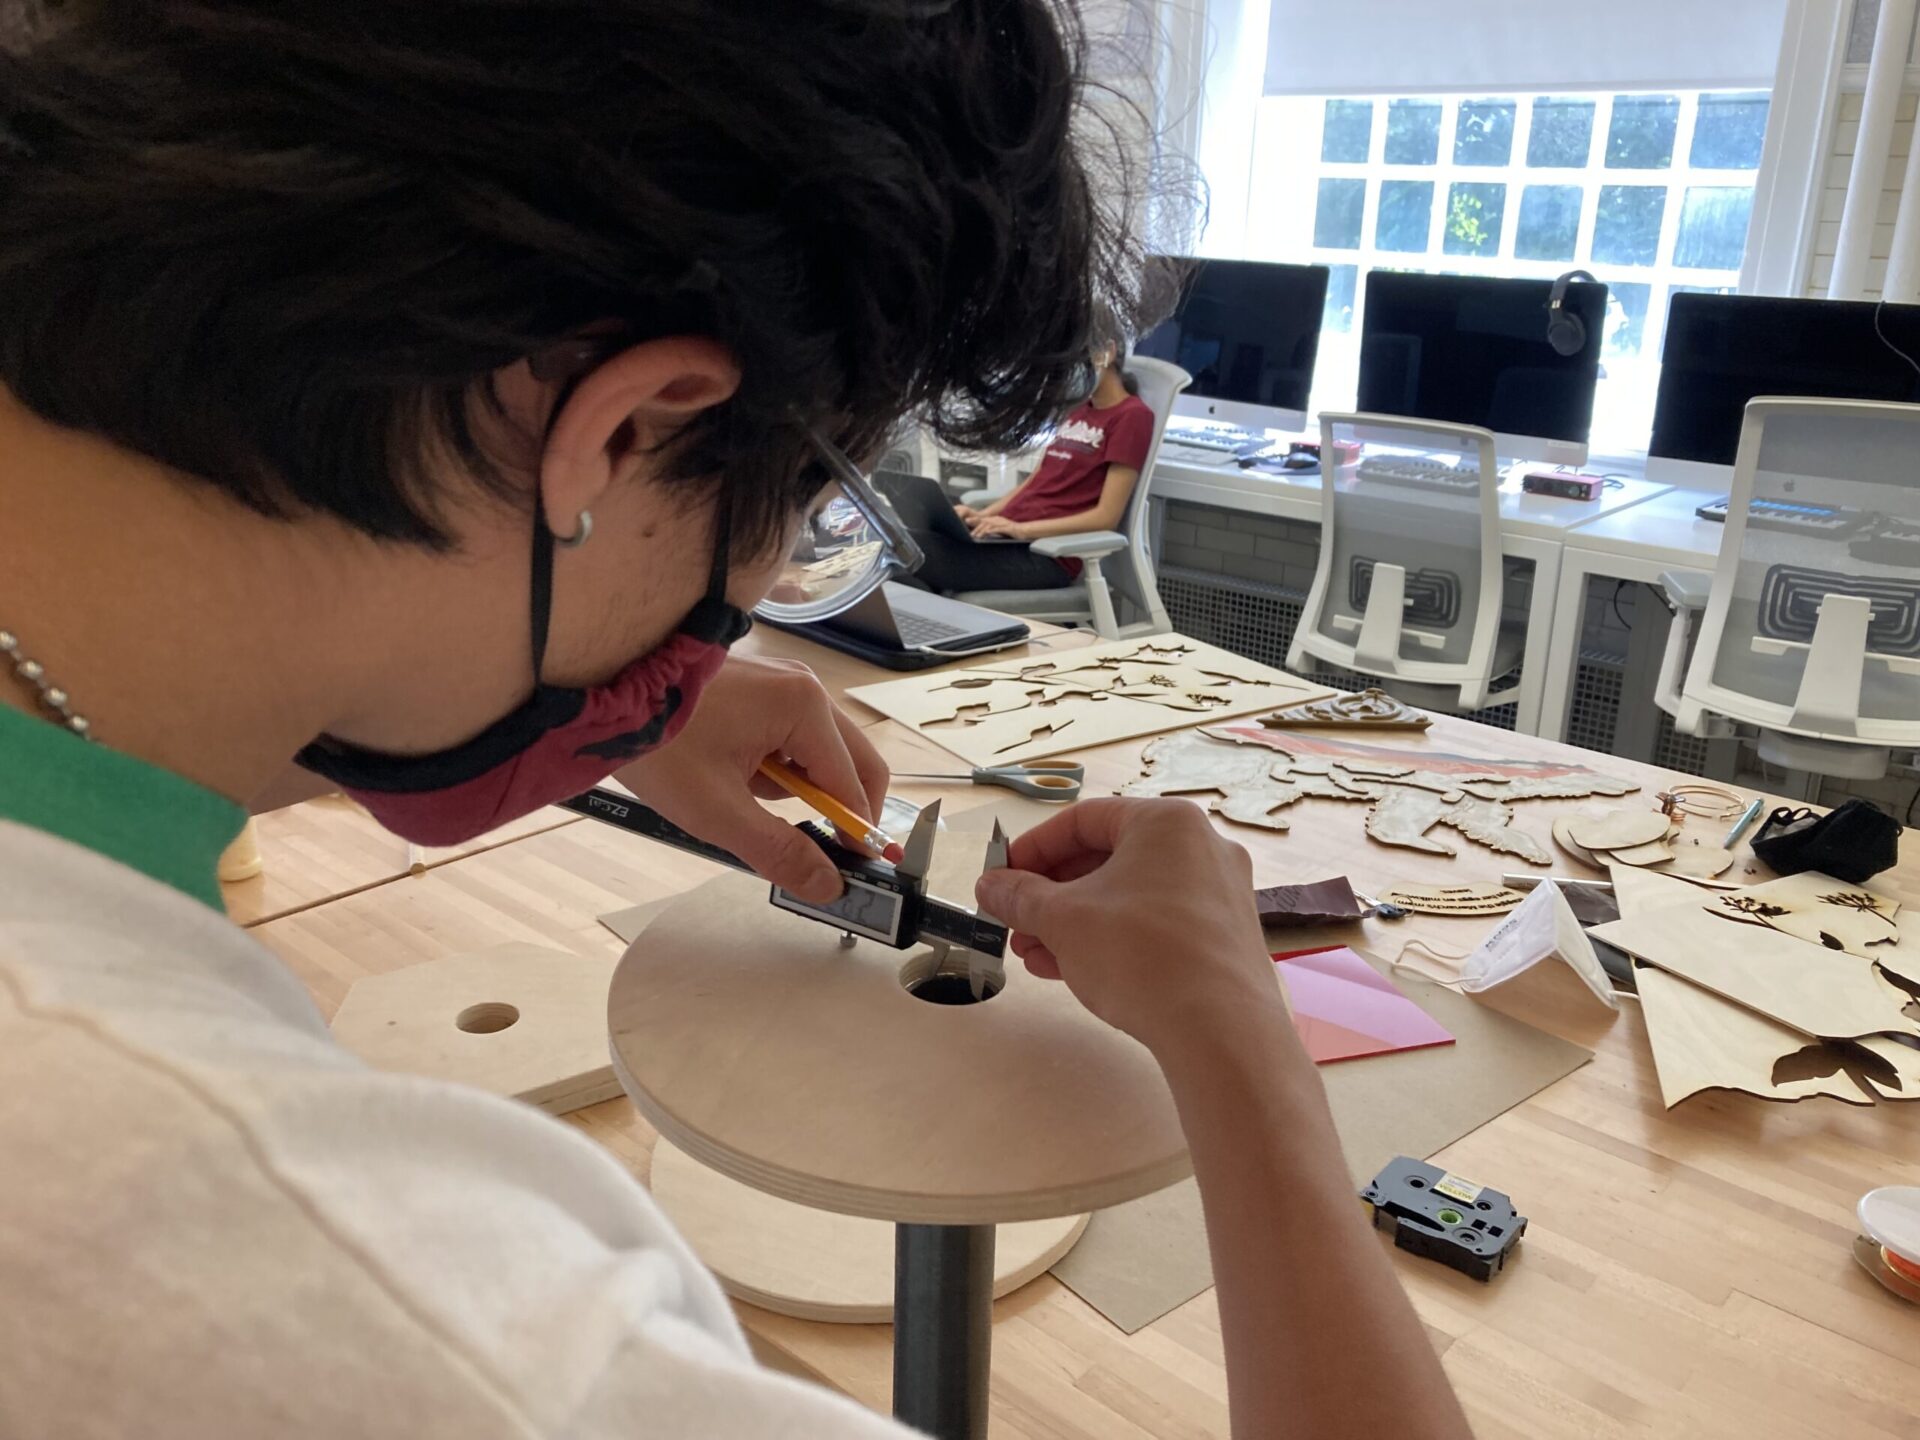
Again we are continuously observing, testing out ideas, prototyping iterations and learning. This is also my checks and balances moment because if we are scaling up it means we are going to the wood shop and it means we are going to, at least in the case of the example, use the CNC router. It’s a chance to catch mistakes before we use a lot of material. Of course we don’t catch every mistake and that’s ok too.
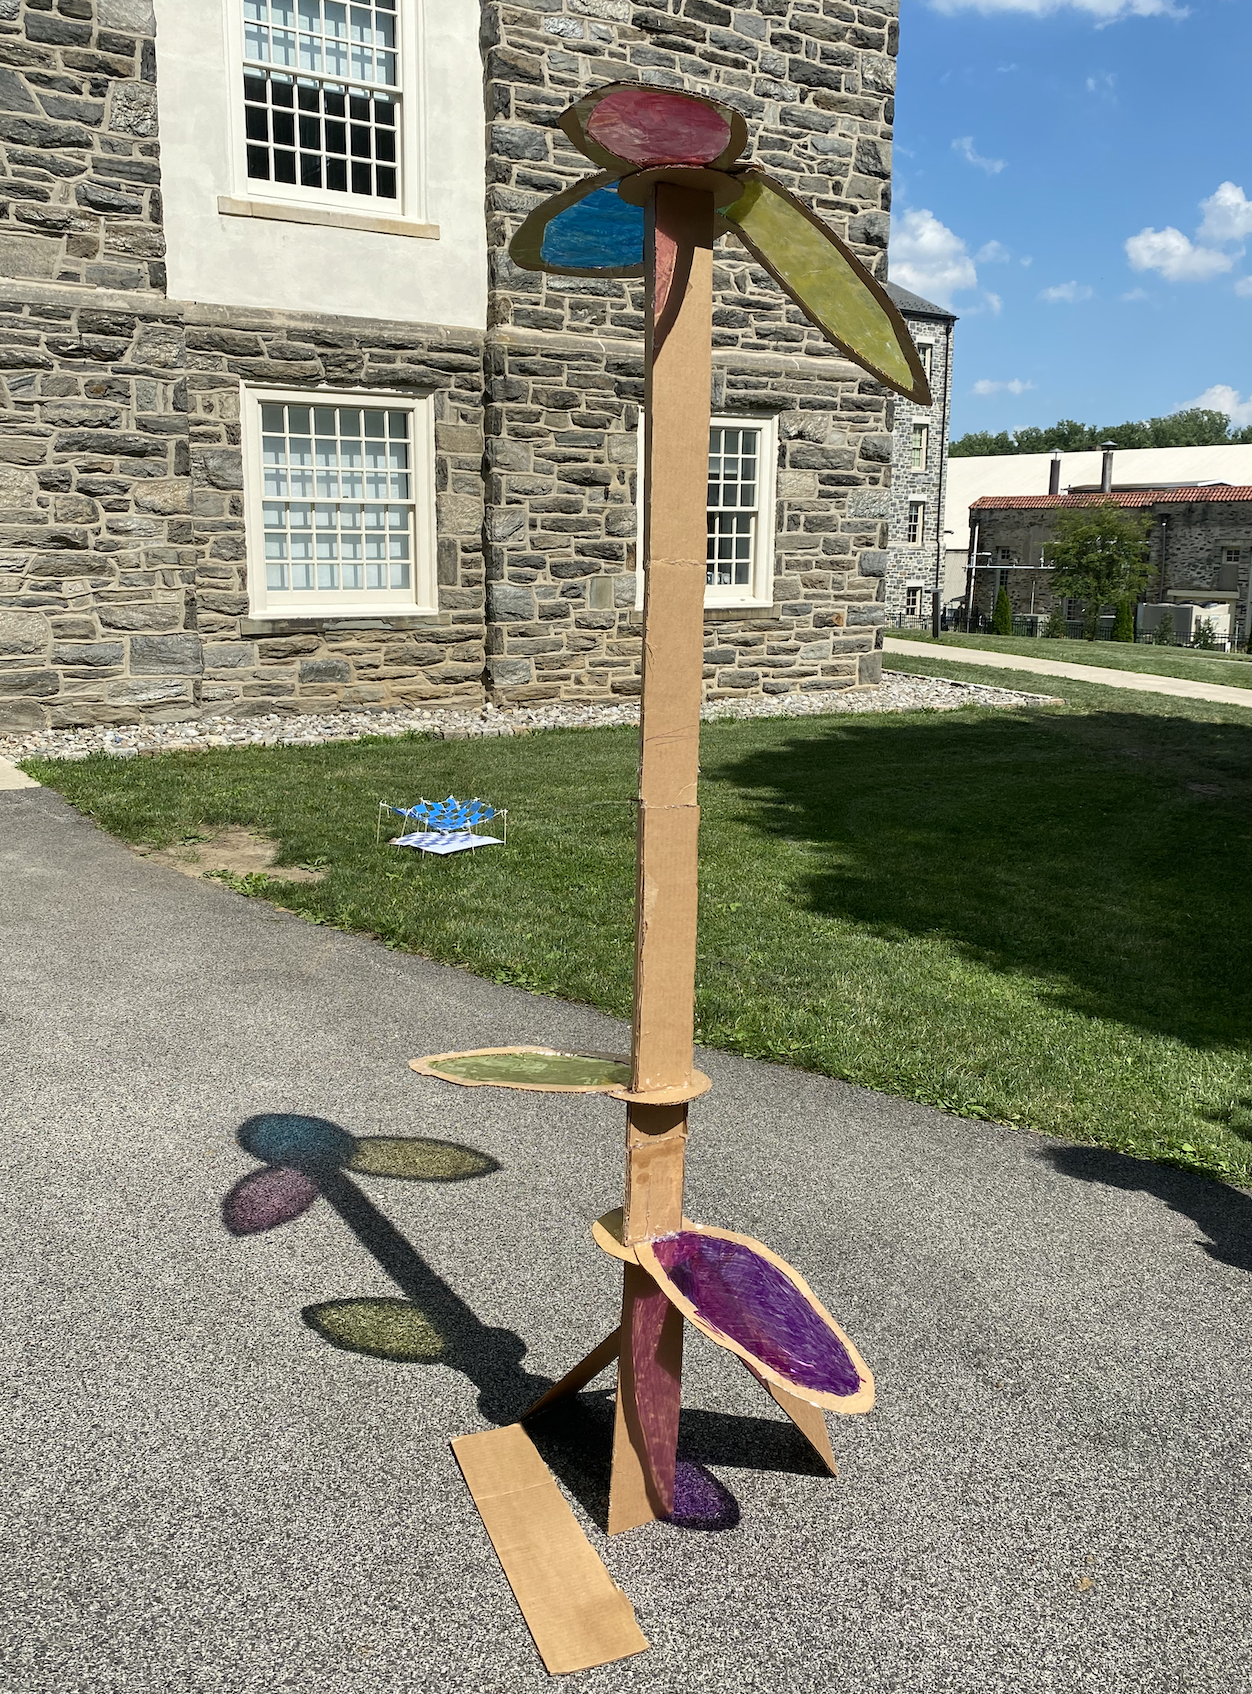
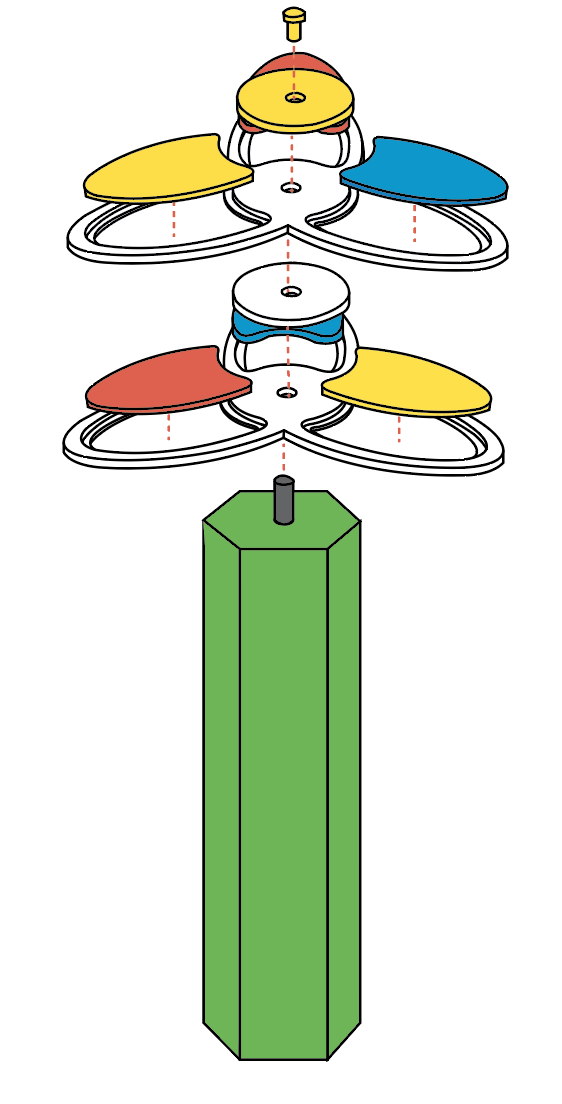
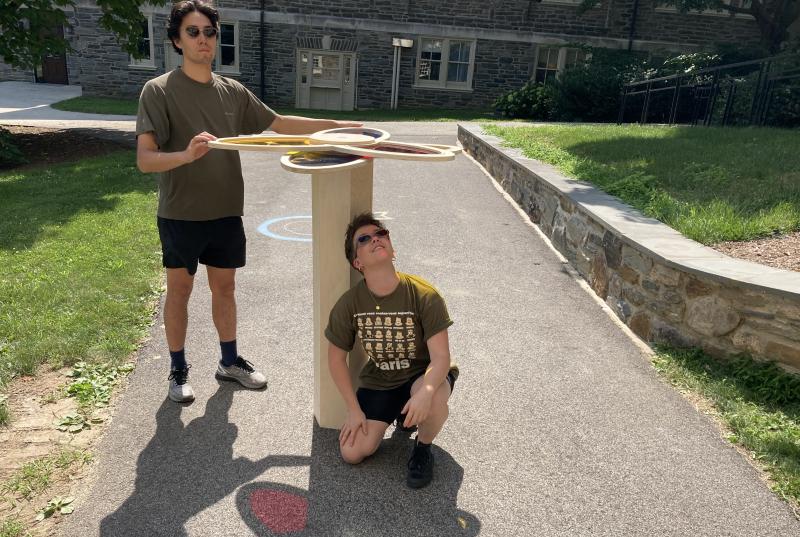
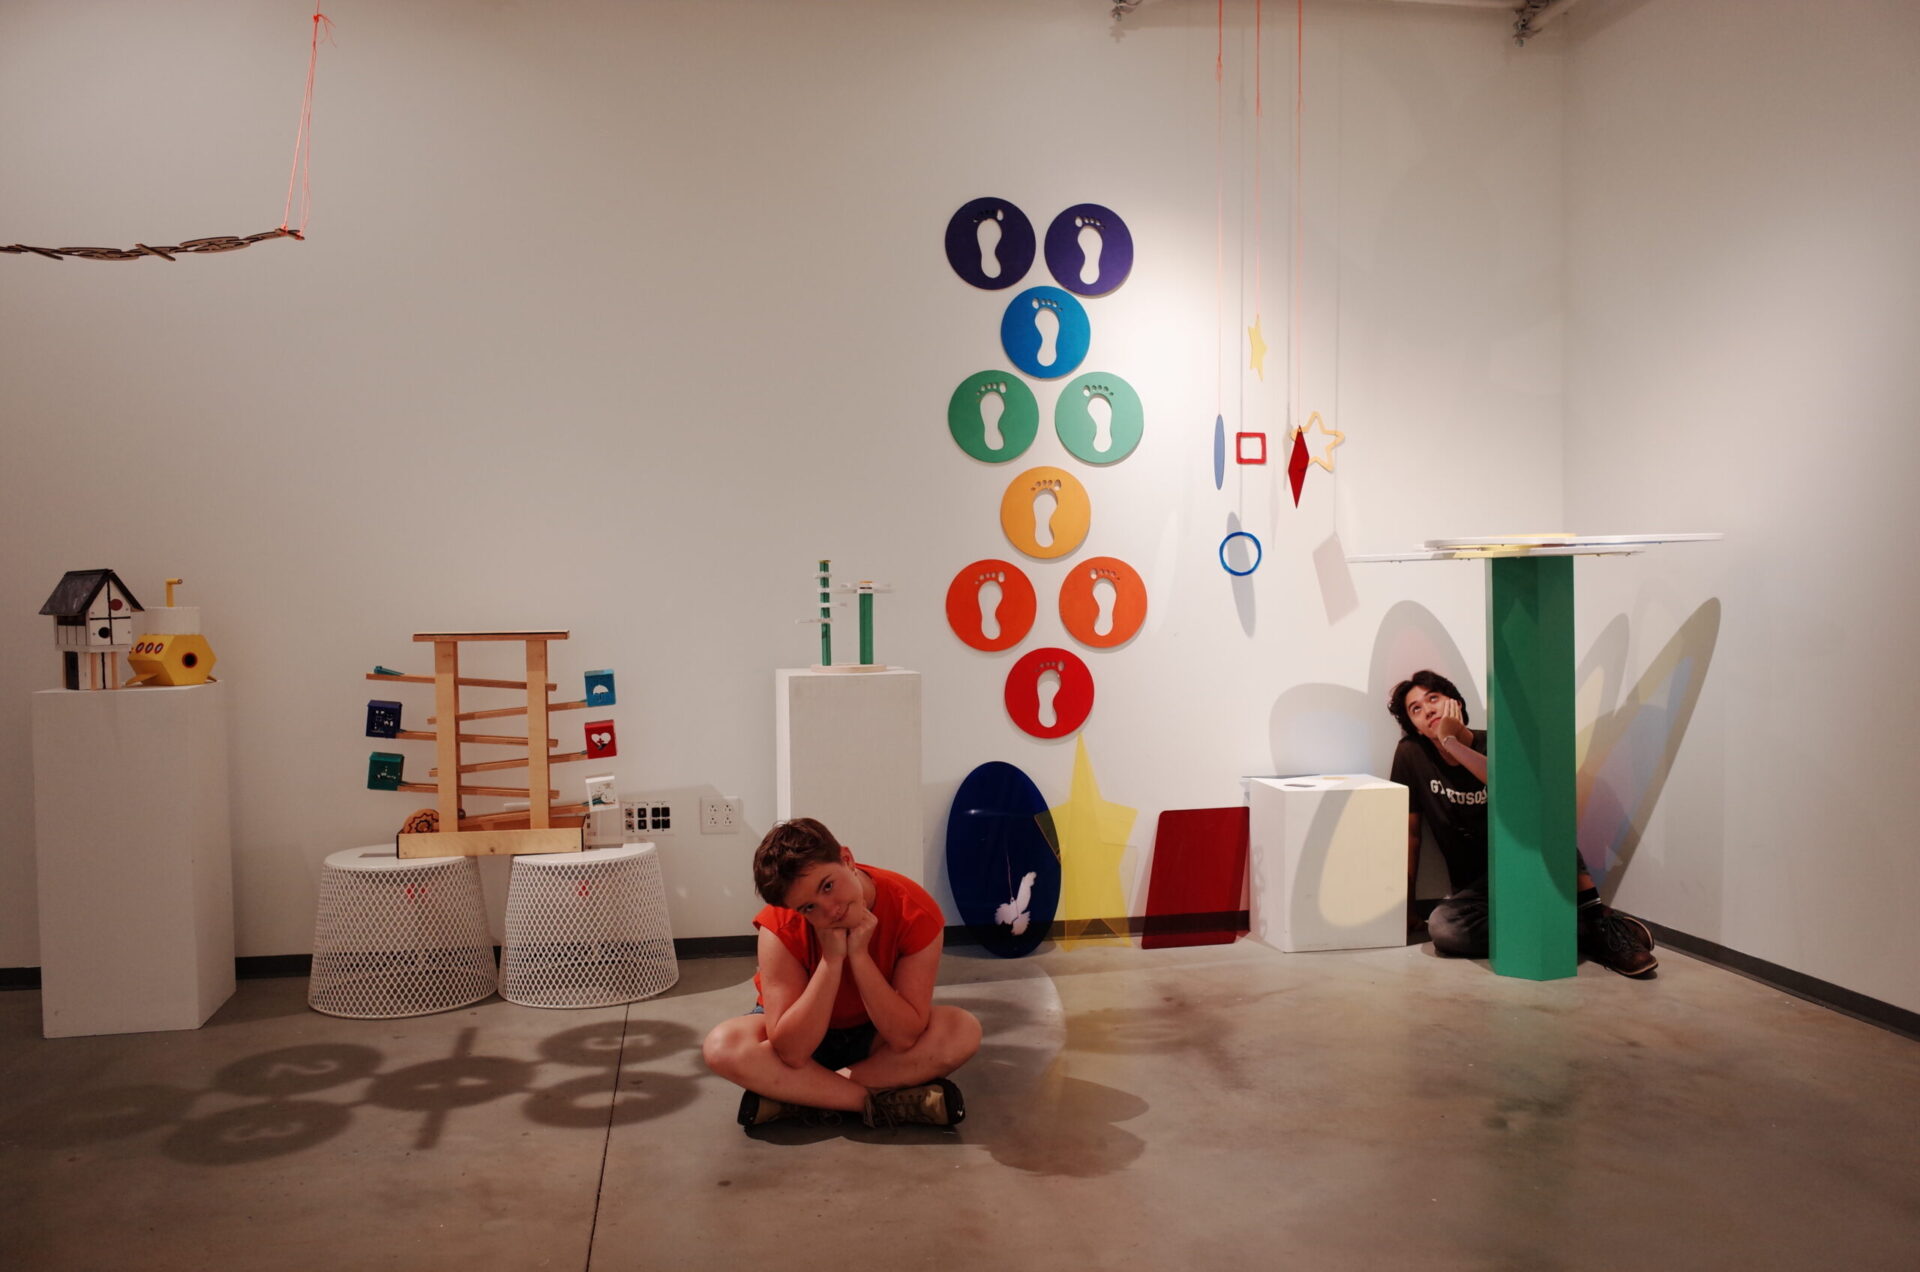
After the small scale, after all my questions, after I insist they reexamine their design, we move to full size. Here is the final design of the shadow flowers play structure. I forgot to mention more about this amazing design! The pedals rotate! The different color acrylics, which are all primary colors, overlap and blend together making secondary colors on the ground.

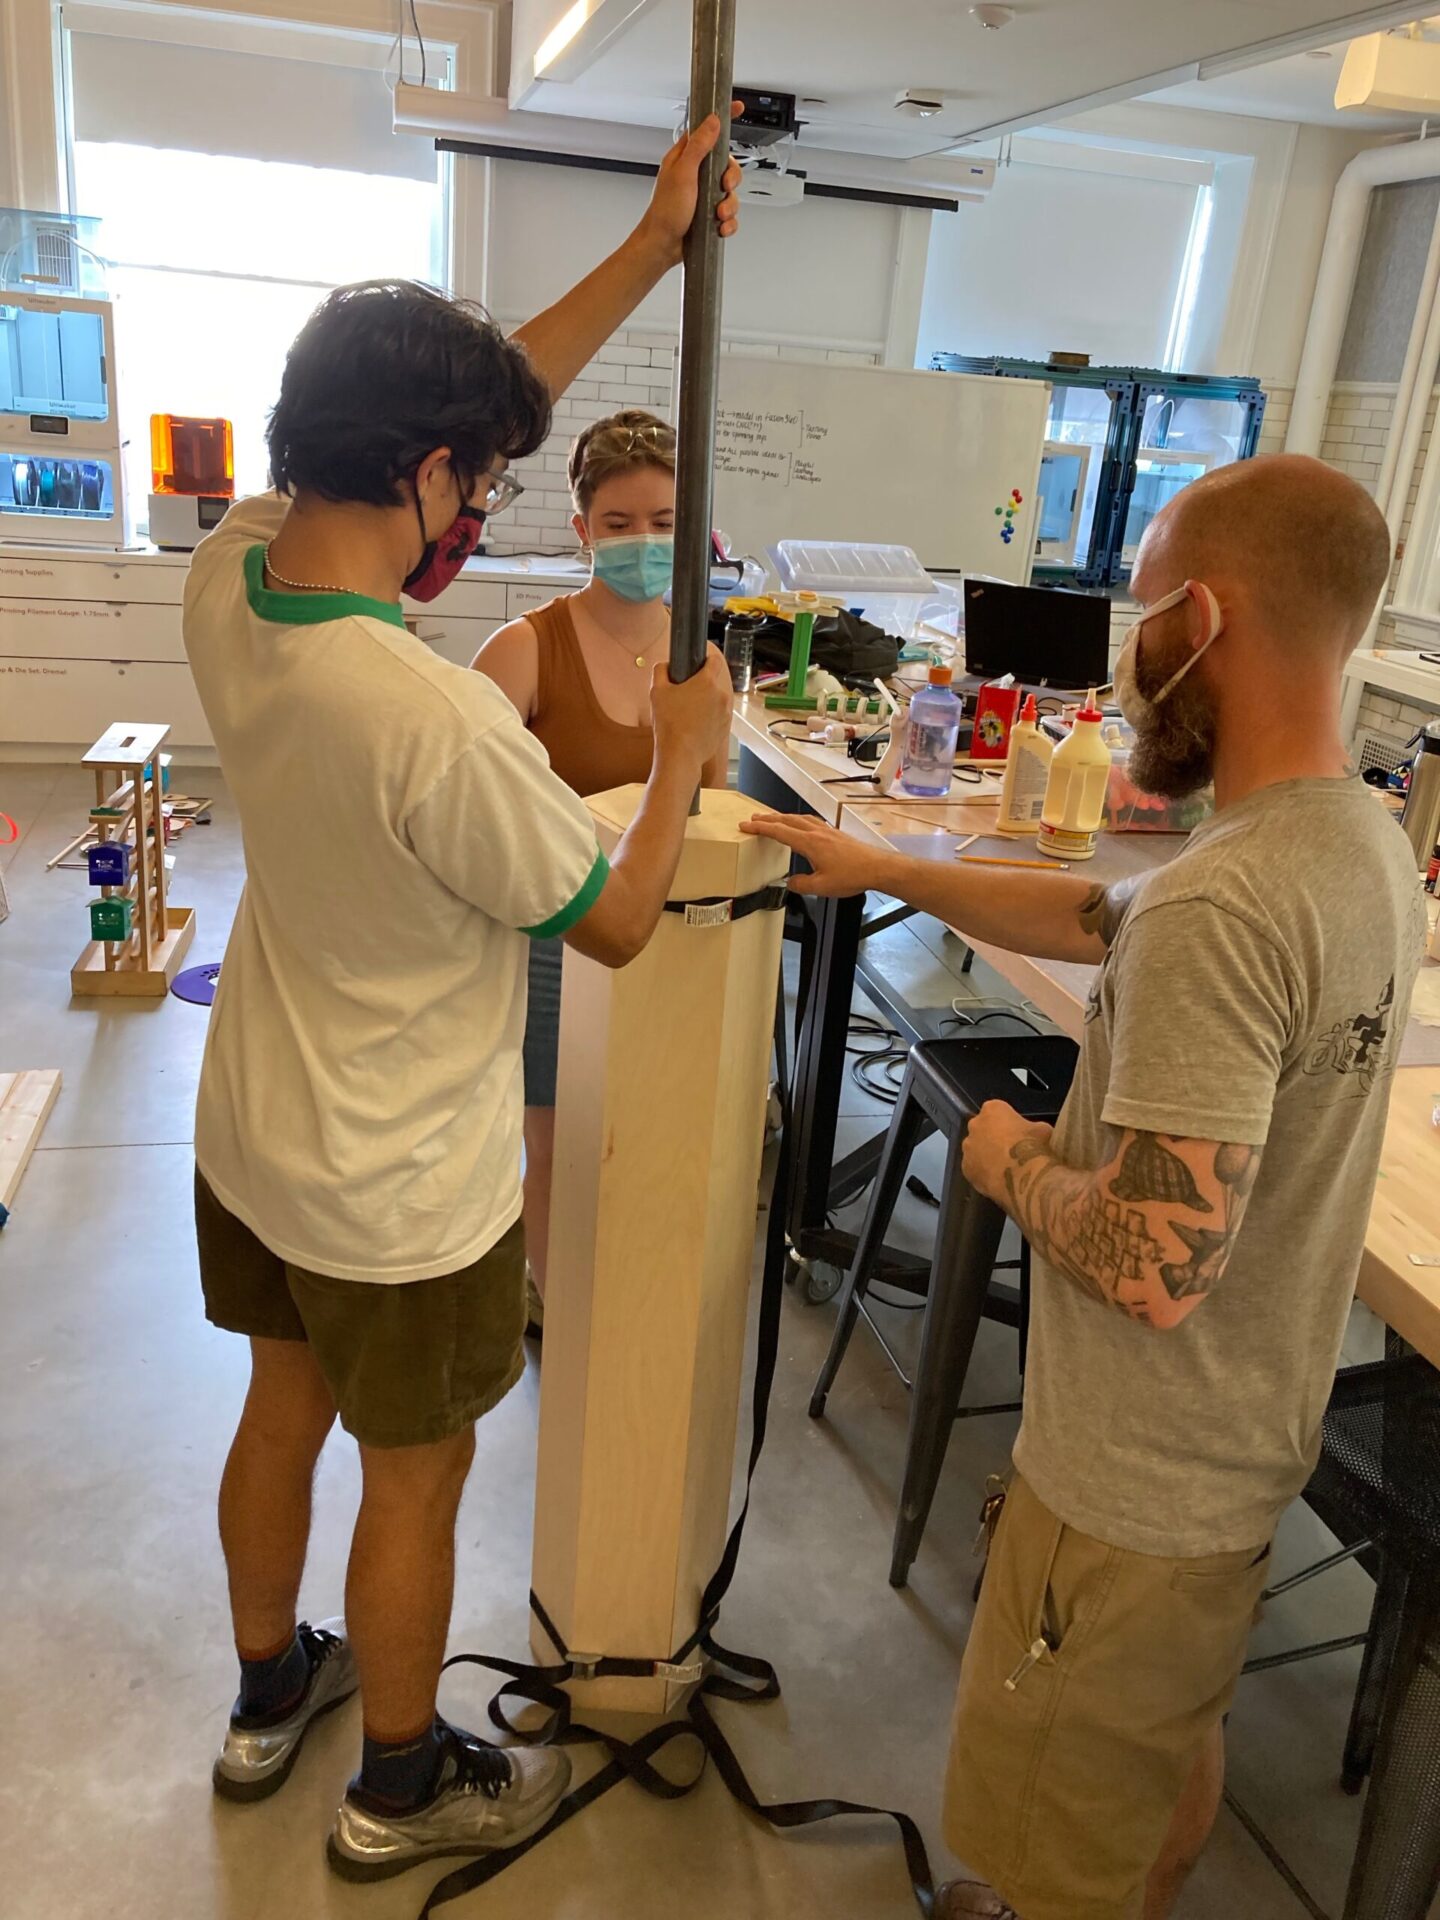
Here are some in process shots.

Return to Instructional Design Page.